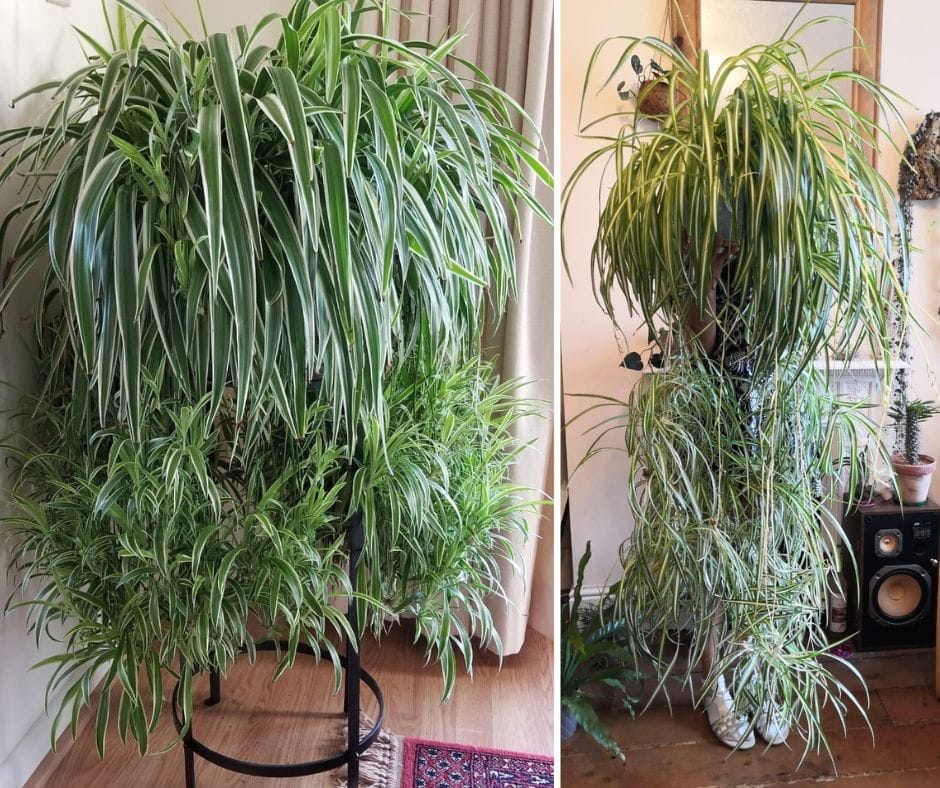
Spider plants are known for their versatility and adaptability, making them popular houseplants. They can brighten up your living space and improve air quality, while being relatively low-maintenance. Despite their reputation for being easy to care for, some gardeners have encountered issues when trying to grow lush and bushy spider plants. Let’s explore six lesser-known tricks that can help you in your quest to grow the biggest spider plants for your home.
One crucial aspect is to provide the ideal environment for your spider plants, which includes using the right potting mix, ensuring proper humidity, and monitoring light exposure. It may require some experimentation, but once you have determined the best conditions, your plant will appear healthier and more robust. Oftentimes, a few simple changes in your care routine can lead to significant improvements in plant growth.
Additionally, it’s essential to keep a close eye on your spider plant’s overall health and address any potential issues proactively. Removing damaged leaves, providing the right nutrients, and practicing careful watering can all contribute to creating fuller, bushier plants. By using a combination of these tips, you’ll be well on your way to growing impressive spider plants for your indoor garden.
Optimal Lighting Conditions for Growth

Identifying the Perfect Spot
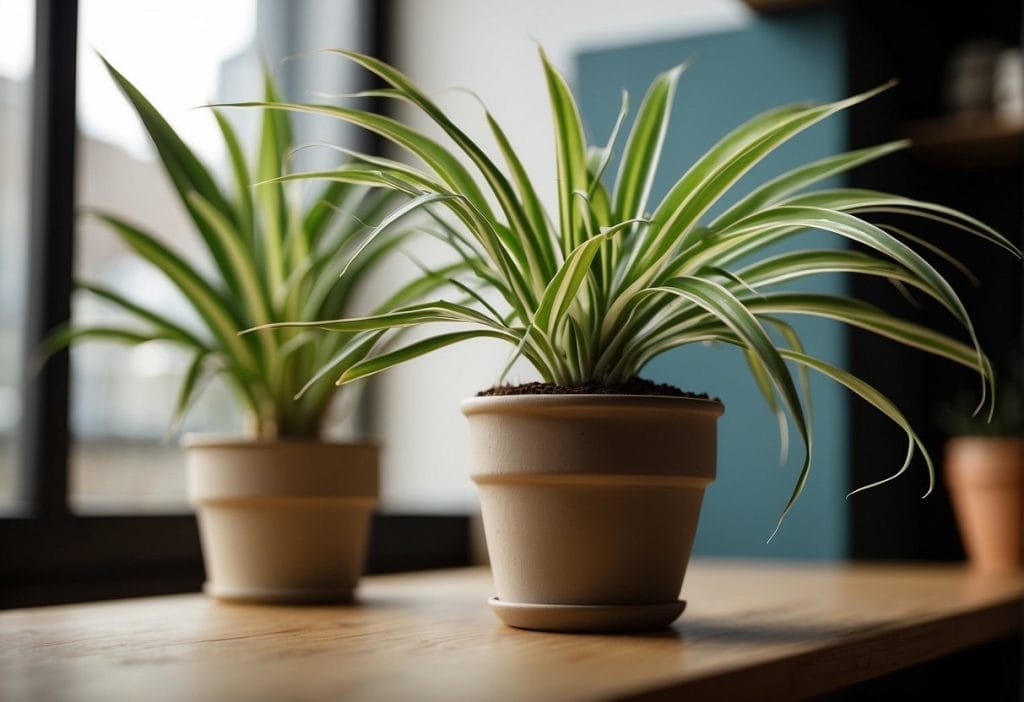
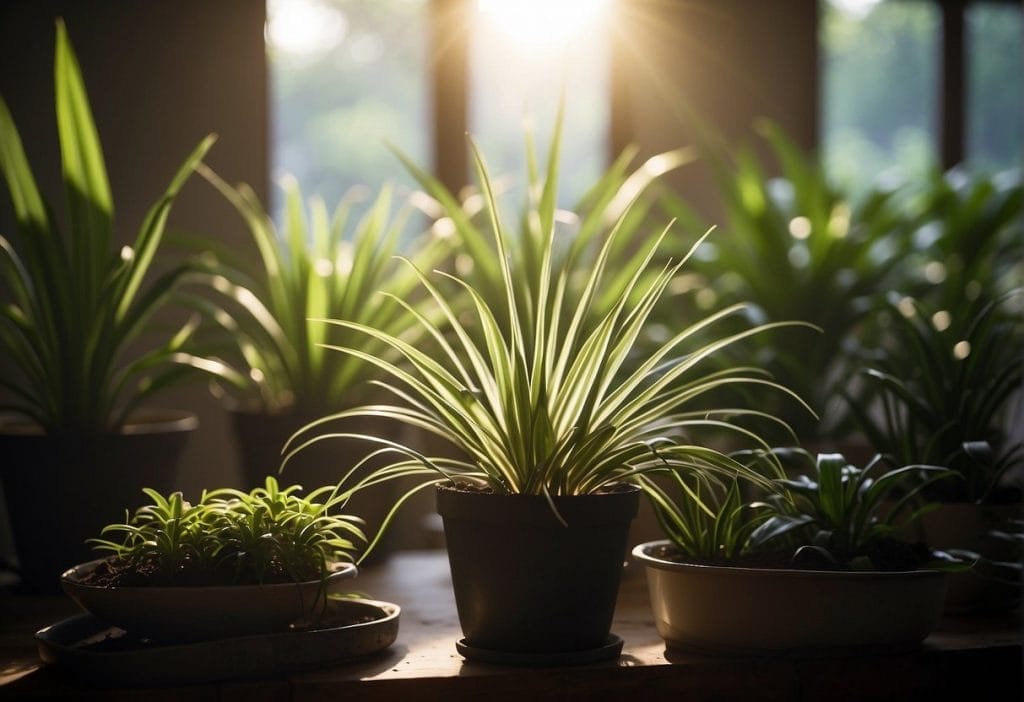
To ensure your spider plants grow to their full potential, it’s crucial to find the perfect spot for them in your home. Spider plants prefer bright to moderate indirect sunlight, as direct and hot sunlight can lead to burnt leaves and brown spots. Make sure to place your spider plants in an area with adequate ambient light, but away from harsh rays. If you’re unsure of the best location, observe how sunlight moves through your house during the day and select a spot that meets these conditions.
Understanding Light Intensity
To further control the light intensity for your spider plants, consider using artificial lighting. Full-spectrum fluorescent lights are an excellent choice for indoor gardening, as they closely mimic the wavelengths of natural sunlight and provide a balanced spectrum of light. Alternatively, LED grow lights are also a popular option for providing controlled light intensities.
When using artificial lights:
- Place your spider plants within 8 to 12 inches of the light source.
- Opt for timers to ensure consistent exposure times.
- Adjust the height of the grow lights as your plants grow and spread.
Considering both the perfect spot and controlling light intensity will create an optimal environment for your spider plants to flourish, potentially leading to impressive growth and even those beautiful ‘baby spider’ offshoots. Remember, consistency and attention to detail are key for achieving the biggest, healthiest spider plants possible.
Watering Techniques for Bigger Spider Plants
Frequency of Watering
To achieve a bigger spider plant, it’s essential to water it with the right frequency. You should aim to keep the soil consistently moist but not overly wet. Overwatering can lead to root rot, while allowing the plant to dry out too much can stress it and cause the leaves to die back. To strike the right balance, allow the top 1-2 inches of soil to dry out before giving your plant a drink. This watering frequency will keep your plant healthy and encourage denser growth.
Best Water Types for Plants
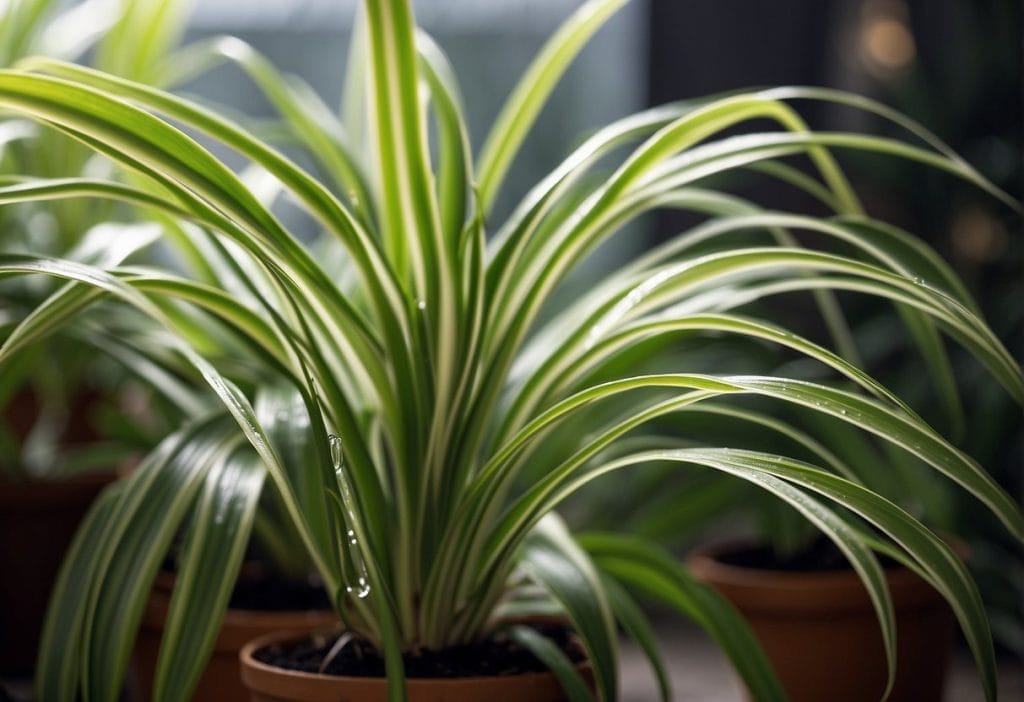
Believe it or not, the type of water you use can also impact the growth of your spider plant. Spider plants have sensitive roots, making them more vulnerable to impurities like chlorine and fluoride commonly found in tap water. To avoid harming your plant, use filtered water or switch to distilled water. These types of water help to prevent browning of leaf tips and support better overall plant health.
When watering your spider plant, remember to:
- Use filtered or distilled water
- Allow the water to reach room temperature before giving it to your plant
- Gently pour water into the soil, avoiding the leaves
By following these watering techniques, your spider plant will be well on its way to growing bigger and healthier, with lush green leaves and dense growth patterns. Enjoy the satisfaction of nurturing a thriving plant and enjoy its beauty in your living space!
Soil Requirements and Composition
Optimizing Soil pH
Spider plants prefer fairly neutral soil with a pH range of 6.0 to 8.0, although they can tolerate slightly acidic or slightly alkaline conditions. To achieve the ideal soil pH, you can:
- Test your soil pH with a probe meter or at-home testing kit. This will give you a baseline reading.
- Amend your soil to adjust the pH, if needed. You can raise the pH by adding lime or lower the pH with sulfur.
- Check the pH regularly to ensure it remains in the appropriate range for your spider plant.
To maintain optimal pH levels, avoid using fertilizers with high salt content, as this can lead to brown tips and negatively affect water absorption for your spider plant.
Organic Matter Enrichment
Organic matter is vital for your spider plant’s growth, as it provides essential nutrients and promotes proper aeration and drainage. Here are some tips to enhance organic content in your soil mix:
- Use organic potting mix: This not only contains the necessary organic matter and nutrients, but also falls within the preferred pH range for spider plants.
- Incorporate compost: Add a part of compost to your soil mix, as it provides a slow-release source of nutrients.
- Add worm castings: Spread a handful of worm castings on top of your soil mix for additional nutrients and improved soil structure.
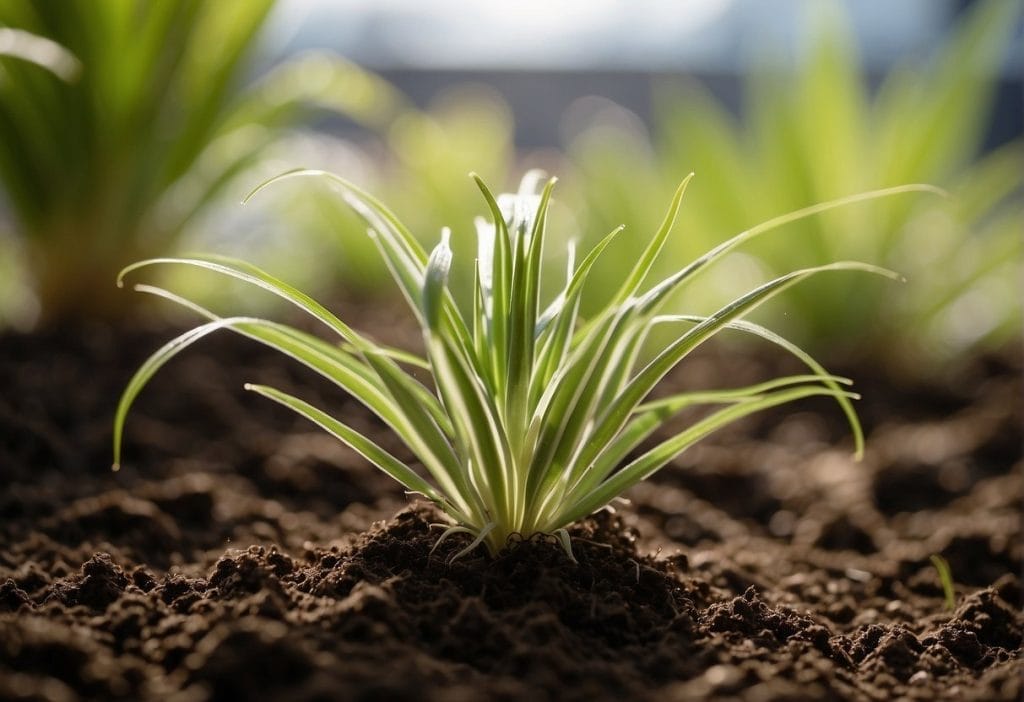
Additionally, make sure your soil mix is porous, as spider plants prefer loose and aerated soil that allows water to pass through easily, preventing over-saturation and maintaining optimal moisture levels.
During the growing season (spring and summer), use a balanced, water-soluble fertilizer diluted to half the recommended strength every 2-3 months to promote healthy growth. Remember to avoid fertilizing during winter, as the plant remains in its dormant phase.
Fertilization Secrets for Robust Growth
Appropriate Fertilizer Types
When considering fertilizers for your spider plants, it’s important to choose the right type to support their growth. A balanced, all-purpose fertilizer is suitable for these plants. You can opt for either a water-soluble or granular time-release fertilizer. Liquid fertilizers, for instance, mix well with water and can be easily applied to the soil at the base of the plant, ensuring even distribution and absorption of nutrients.
Natural alternatives, like eggshells, oyster shells, and banana peels, can also contribute to the growth of your spider plants. Eggshells provide an excellent source of calcium, which strengthens plant cells, while oyster shells help make the soil more alkaline. Banana peels, on the other hand, add micronutrients that are vital for plant growth.
Timing and Dosage
Fertilizing your spider plants must be done with care, as over-fertilization can lead to brown leaf tips and other complications. The best time to fertilize spider plants is during the growing season, usually from spring to early fall. Aim for a light monthly feeding, following the package instructions to avoid over-fertilization.
Here are some suggestions for appropriate dosages:
- Water-soluble fertilizers: Dilute according to package instructions and apply once every 4-6 weeks.
- Granular time-release fertilizers: Sprinkle a small amount around the base of the plant, keeping in mind that less is usually more. Follow package recommendations for reapplication.
- Natural alternatives: Use sparingly, as too much can upset the balance of nutrients in the soil. Crush eggshells and spread them around the plant base, or bury small pieces of banana peel near the roots. Oyster shells can be ground and mixed with the soil to raise its alkalinity.
By utilizing these fertilization secrets, your spider plants can achieve robust growth, fuller foliage, and overall healthier appearance. Just remember to always approach fertilization with careful attention to dosage and timing, and your plants will thrive.
Propagation Tips to Multiply Your Plant
In this section, we will explore two effective methods of propagating your spider plants to help them grow bigger and healthier. By following these simple yet unknown tricks, you can easily multiply your plants and create impressive growth.
Splitting the Mother Plant
One effective method of propagating spider plants is by splitting the mother plant. This involves dividing the established plant into several smaller plants, each containing roots and foliage. Here are the steps to achieve this:
- Gently remove the mother plant from its pot, shaking off excess soil to reveal the root system.
- Examine the root system and identify natural divisions in the plant, where multiple sections of foliage each have their own root system.
- Using a clean, sharp knife or gardening shears, carefully separate the sections, ensuring that each new plant has a healthy set of roots and foliage.
- Replant the divisions into individual pots filled with a well-draining soil mix. Water them thoroughly after repotting.
By following these steps, your spider plants will continue to grow and flourish, allowing you to multiply your collection with ease.
Rooting Spider Plant Babies
Another propagation method involves rooting spider plant babies (also known as plantlets or spiderettes). These small plants grow on long runners and can be easily detached and rooted to create new plants. Here’s how to propagate them:
- Wait until the spider plant babies have developed small roots and several leaves.
- Cut the baby plant from the runner with clean scissors or a sharp knife.
- Prepare a new pot with a mix of potting soil and perlite, ensuring good drainage.
- Dip the base of the baby plant in rooting hormone (optional, but it may speed up root development).
- Insert the baby plant into the soil, and firm the soil around it to hold it in place.
- Keep the soil consistently moist until you see new growth, indicating that the plant has rooted successfully.
By using these two methods of propagation, you can easily multiply your spider plants, helping them grow bigger and stronger. Enjoy the satisfaction of nurturing your plants and watching them thrive under your expert care!
Preventing Common Pests and Diseases
1. Maintain a clean garden: By removing leafy debris, dead plants, and decaying material, you’ll deter pests from making a home in your spider plants. A cleaner garden environment helps prevent the proliferation of unwanted insects and diseases.
2. Avoid overcrowding: Make sure to give your spider plants enough space for proper air circulation. Crowding can create a moist, humid environment that’s favorable for disease development.
3. Water early in the day: Watering your spider plants in the morning helps prevent diseases, as they are less likely to remain wet throughout the night.
4. Homemade insecticides: You can create an effective insecticide by mixing 1 cup of vegetable oil, 1 tablespoon of mild soap, and 1 quart of water in a spray bottle. Shake well and spray it on your plants. This homemade solution is an eco-friendly way to keep pests at bay.
5. Neem oil: Extracted from the seeds of the neem tree, neem oil is an organic and non-toxic choice for managing garden pests. It’s effective against a wide range of pests, such as aphids, mites, and whiteflies, making it an excellent option for protecting your spider plants.
6. Remove diseased parts: As soon as you notice any diseased leaves, flowers, or fruits on your spider plants, remove them promptly. This helps prevent the spread of diseases and keeps your plants healthier.
By following these tips, you can prevent common pests and diseases in your spider plants, allowing them to grow larger and stay healthy.